Repair & reuse
Prepare One Item for a Repair Café Visit
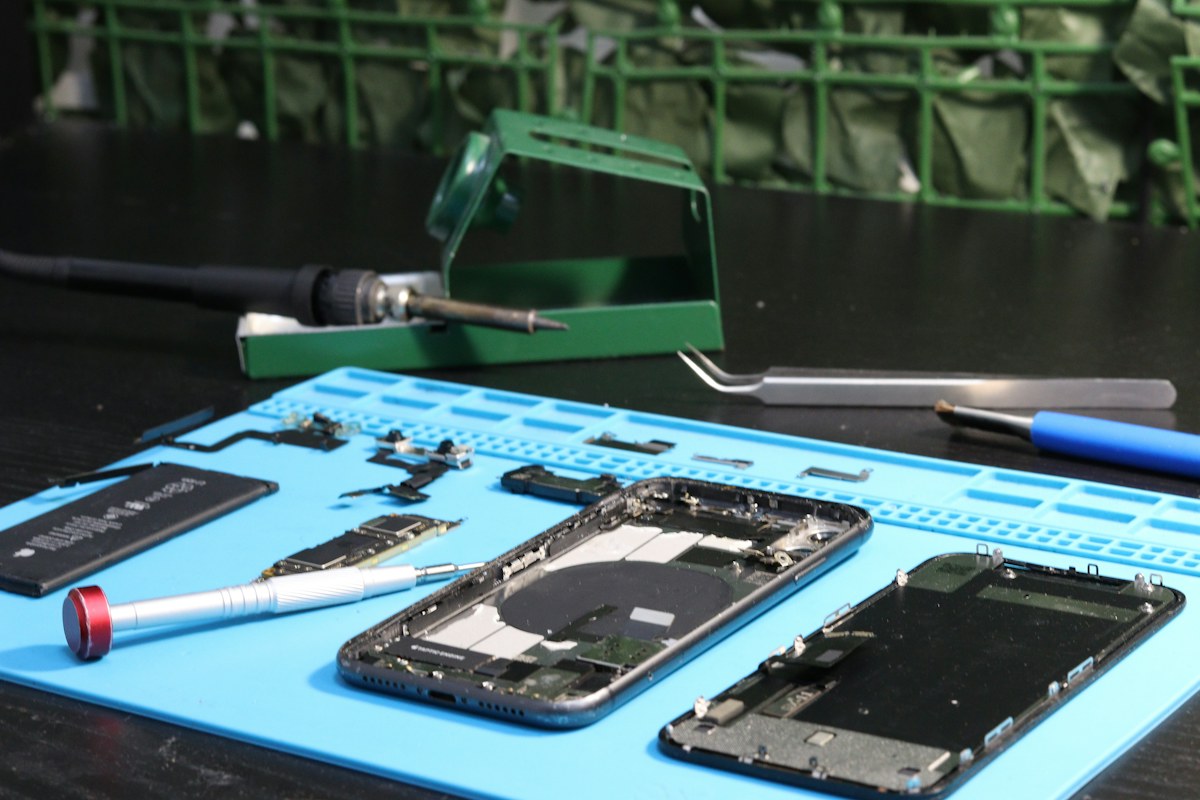
A useful fault description, the right parts and a realistic question make a repair visit easier to organize.
Trace where the coin escaped before deciding between a few stitches, a patch, and a professional tailoring handoff for your worn pocket.
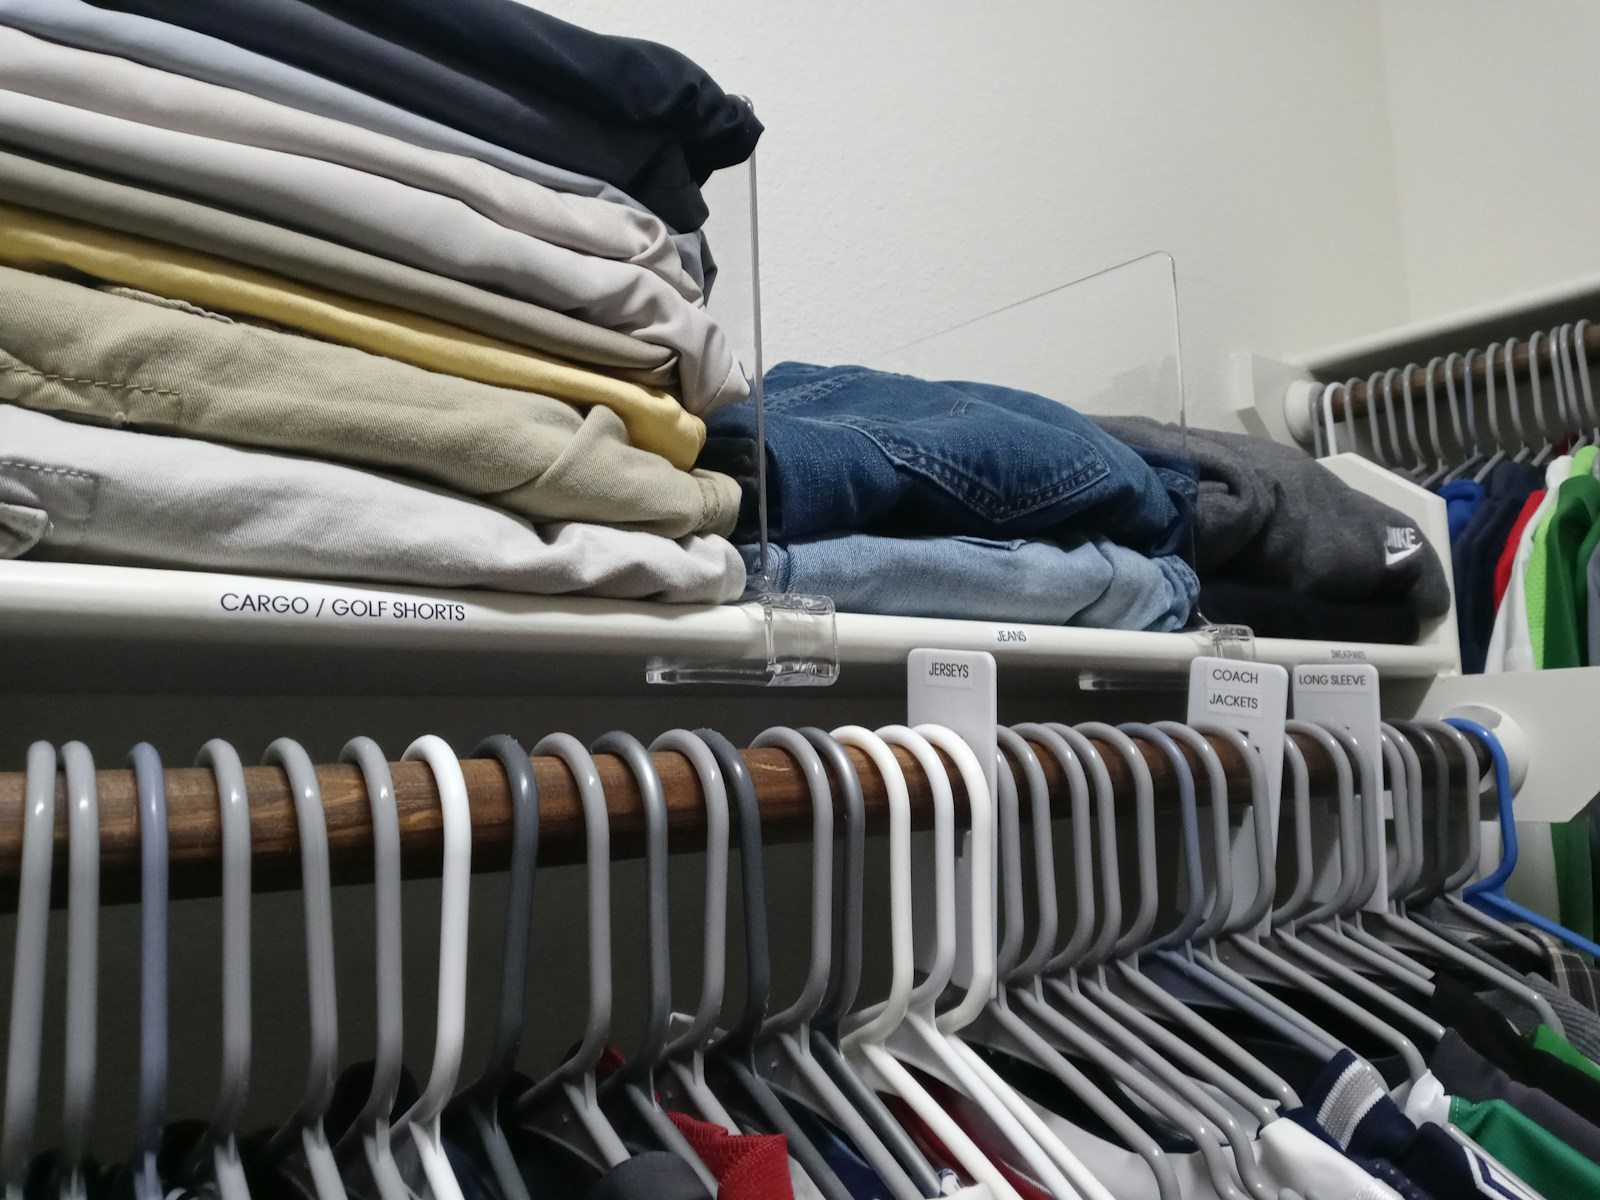
A coin falls through the pocket, yet the trousers may still fit well and have years of ordinary use left in them. Before replacing the garment, I would turn the empty pocket inside out and locate the failure. Missing thread between two sound edges calls for a different decision from fabric that is thinning across the whole pocket. That distinction is worth making even if somebody else will do the sewing.
Repair decisions depend entirely on physical evidence rather than guesswork. My starting point would be a simple inspection: turning the bag inside out, examining the surrounding threads, and comparing the damaged side to the intact opposite pocket. This notebook approach helps clarify whether a needle and thread will suffice, or if you should seek out external services such as a local tailor or a manufacturer repair program like those documented by Patagonia and iFixit.
This guide walks through a practical decision process for pocket damage. We will look at how to identify whether you are dealing with a broken seam or thin fabric, how to handle a gentle home reinforcement on sound material, and how to test your work safely without risking important items like keys or coins. Along the way, we will weigh repair budgets against garment values and look at how tracking recurrence helps you make better decisions for your wardrobe.
Turn the empty pocket inside out over a well-lit table. Find the opening by tracing the fabric gently with a finger rather than pushing a sharp implement through it. Is the thread missing cleanly between two intact edges? Or can you see a thin, fraying patch in the middle of the pocket bag? Take a quick digital photo of what you see to keep a visual record. A seam opened along its original stitching line is fundamentally a different job from fabric that has worn away through friction.
Check the second pocket while you have the trousers in your hands. It shows you the intended shape, how deep the pocket was, and whether it connects directly to a waistband or zipper fly. If the damaged area reaches one of those structural joins, or the garment has an inner lining you cannot access without cutting, a professional tailor may be a better next stop. Tell them exactly where the opening is and what you normally carry in that pocket.
Imagine a hypothetical pair of work trousers where a heavy metal keyring wore through the bottom corner of the left pocket. If the surrounding fabric is thick and sturdy cotton twill, you have a solid foundation for a localized fix. If the entire pocket bag feels like tissue paper under your fingers, stitching a single hole may leave adjacent weak fabric carrying the same load. Let the physical resistance of the cloth guide your next step.
Pockets do not float independently inside trousers; they are anchored to structural seams like the waistband, side seam, and fly facing. When inspecting the damage, look closely at where the pocket bag meets these outer seams. If the break has compromised the anchor point itself, simple patching will not restore the load-bearing capacity required for daily wear. You need to verify whether the frame holding the pocket is still sound.
Consider an imaginary scenario where a pocket has separated right at the top edge where it joins the waistband. Fixing this requires working through a thick stack of layered fabric. If your needle struggles to penetrate the factory stitching lines, forcing the repair can distort the outer appearance of the trousers. Recognizing these structural boundaries prevents you from starting a repair that compromises the outer look of the garment.
Take a moment to clean out the pocket thoroughly before any work begins. Lint, sand, and small debris can hide underlying tears and interfere with alignment. By clearing the interior, you get an unobstructed view of the weave, allowing you to see the exact boundaries where healthy fabric ends and stressed, thinning yarn begins.
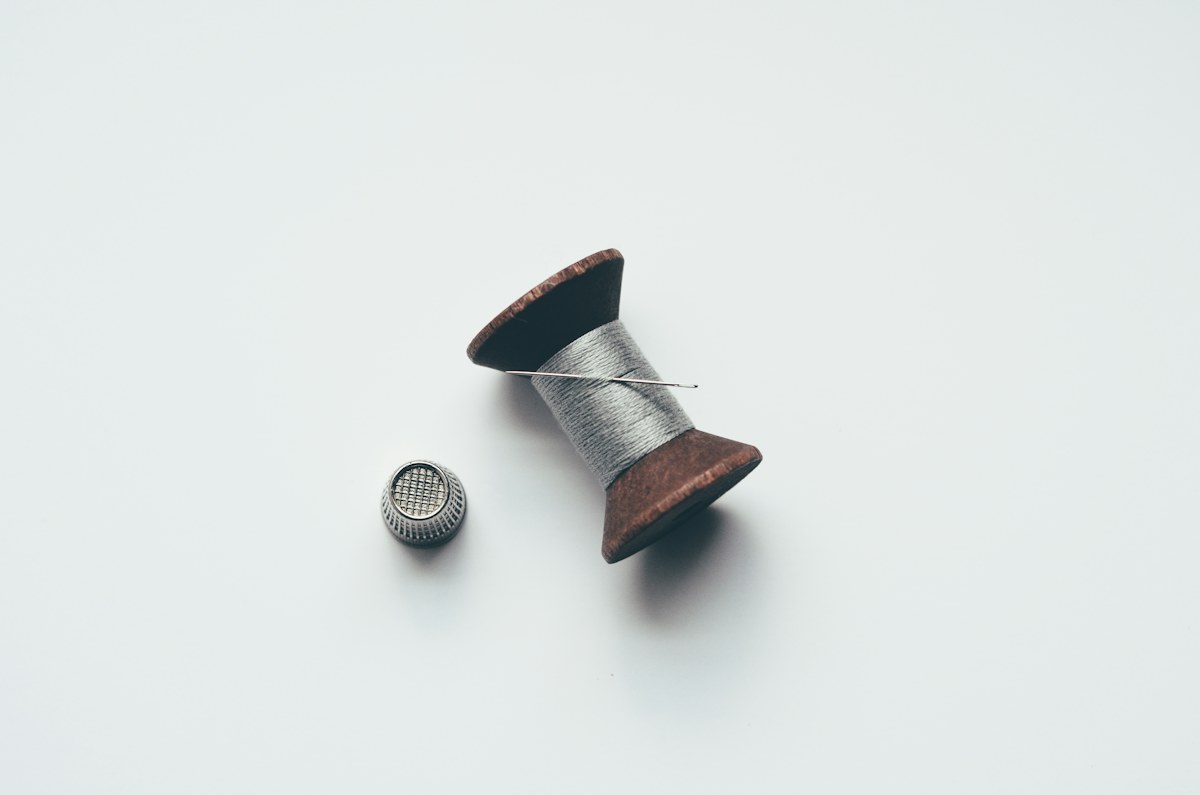
For a short, accessible split in a plain woven pocket seam, line up the original edges carefully with the pocket turned inside out. If you are new to stitching, practice on a spare piece of similar fabric first: start several stitches before a pretend gap, work a line of secure stitches, and continue past it into sound material. Use a thread and needle appropriate to the weight of the fabric. Keep the fabric flat rather than pulling the thread so tight that it puckers the surrounding cloth.
Do not sew a line through a paper-thin patch and expect it to carry your daily items. That line asks the weakest part of the pocket to take more strain than it can bear. A fabric patch attached to surrounding sound cloth, or a complete replacement pocket bag made from scrap material, may make better use of the garment. If the fabric surrounding the whole pocket is deteriorating, get an assessment before paying for a localized fix.
For a hypothetical short split, rehearse the repair on a spare piece before working on the trousers. Check a suitable sewing guide for the stitch and thread choice, then test whether the practice seam remains flat and holds when handled gently. If you cannot keep the inner pocket separate from the outer leg, stop and improve access or ask for help. Completing a few stitches is not useful if the pocket ends up sewn shut.
Every repair involves a calculation of time, materials, and potential cost against the replacement value of the item. As noted by the EPA in waste reduction frameworks, repairing worn objects and extending their utility is a primary step in managing household waste, but it should remain practical. If professional tailoring costs approach the price of a new pair of trousers, or if the fabric is failing across multiple stress points, replacement or repurposing becomes a rational choice.
Think about a hypothetical situation where a pair of lightweight summer trousers has thin pockets on both sides and a fraying hem. Spending money on professional pocket replacement might keep them wearable for a season, but underlying degradation means other failures are likely. I prefer to balance the effort: if a twenty-minute hand repair restores function, it is worth doing. If it requires extensive professional intervention on a low-value garment, I look at other options.
Patagonia’s repair service and its care-and-repair resources with iFixit are real examples of ways to seek an assessment or find a technique-specific guide. They do not guarantee that an unrelated pair of trousers can be repaired in the same way. Check the garment manufacturer’s own options where relevant, and ask a tailor about the actual damage rather than assuming a generic seam tutorial covers every construction.
Turn the pocket back into its normal position inside the trousers. Slip in a folded tissue and move it gently along the repaired seam. Check carefully that no stray thread catches the tissue, no new opening has appeared beside the repair, and you have not accidentally stitched the pocket bag to the outside leg of the trousers. Remove the tissue before sending the trousers to the wash.
For the first day back in active use, carry something light, such as a receipt or a small notepad. One successful test doesn't establish a permanent load limit for heavy metal objects. The useful outcome of this process is a pair of trousers that can return to their ordinary job without prompting an immediate new purchase. Keep your initial photo and a note of what you fixed; if the same area opens again later, it is time to consider a different repair approach.
After the tissue check, inspect both sides of the repaired area in good light. Confirm that the stitches catch the intended fabric and that no loose thread or needle remains inside. This is a preliminary check, not certification that the pocket will carry a phone or keys securely. Give valuable items another safe home while you see how the repair behaves during normal movement.
When a repair fails a second time in the exact same spot, it provides valuable diagnostic feedback. It may mean the original strain or surrounding wear was not addressed, such as carrying sharp objects that continually abrade the fabric in that specific corner. Documenting these recurrences helps you adjust your habits, whether that means shifting your keys to a different pocket or reinforcing the entire lower section with a sturdy denim patch.
Consider a hypothetical case where a trouser pocket is repaired twice in three months, only to tear open again along the outer edge. The repeated opening calls for another look at the fabric, seam and what the pocket carries; the pattern alone does not identify the cause. Instead of a third quick stitch, this calls for a design change: either installing a larger reinforcing patch or accepting that the fabric has lost its structural integrity.
Maintaining a simple mental or written log of your household repairs builds practical competence over time. You start to recognize which fabrics hold a stitch well and which ones require heavier reinforcement or professional intervention. This observational habit turns routine garment maintenance from an annoying chore into a reliable, manageable household skill.
Adhesives differ significantly in washability, stiffness, and suitability for various fabrics. Do not assume that gluing a load-bearing pocket is equivalent to reinforcing sound cloth with thread.
The physical inspection is still worthwhile. A local tailor or community repair group can give much more useful advice when you show them the opening, surrounding fabric, and matching pocket.
It is best to use a scrap fabric of similar weight and fiber content to avoid stiffness imbalances that can cause the pocket to pull awkwardly against the trousers.
Thin, easily torn fabric, inaccessible layers, or damage where the pocket joins a waistband are reasons to get an assessment. They do not establish that the garment is beyond repair. A tailor can judge whether reinforcement, a replacement pocket bag or another approach is appropriate.
Yes, clearing pockets before laundering prevents coins, keys, and debris from abrading the fabric seams and reduces the likelihood of premature tears developing.
Repairing a pocket is an exercise in practical observation rather than advanced tailoring. By inspecting the fabric weave, testing your work safely, and knowing when to seek professional help or accept garment retirement, you can maintain your wardrobe with confidence and reduce unnecessary replacement cycles.
Have a correction? Contact the editors.
A useful fault description, the right parts and a realistic question make a repair visit easier to organize.
Inspect the fabric, preserve the position and choose a manageable repair for an ordinary adult shirt.
Match usable items with an actual recipient instead of transferring an unresolved sorting job to somebody else.