Repair & reuse
Prepare One Item for a Repair Café Visit
A useful fault description, the right parts and a realistic question make a repair visit easier to organize.
Inspect the fabric, preserve the position and choose a manageable repair for an ordinary adult shirt.
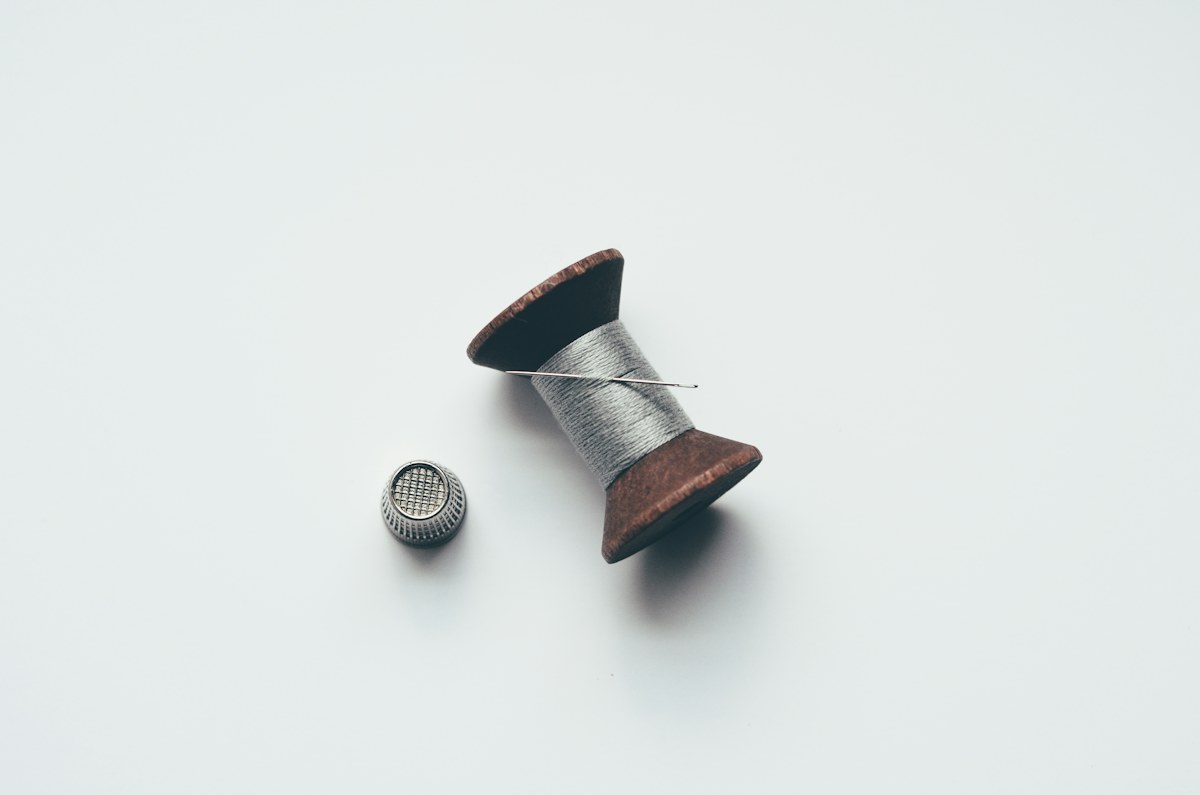
A button hanging on a few stretched threads offers a small window for action. The matching button is still present, its position is visible and the garment can be set aside before the next wear. I would use that window to decide whether the problem is simply the stitching or whether the fabric underneath needs a different repair.
This guide concerns an ordinary flat, four-hole button on sound woven fabric in an adult garment. It is a planning and checking companion to a demonstrated sewing technique, not a rule for every fastening. Coated garments, thick layers, unusual fittings and children’s clothing can need different handling. The sensible repair may be a short appointment with a professional.
Take the garment off and lay it on a stable surface with good light. Put a small dish or container nearby for the button and any tools. This is a practical way to avoid losing the very component you are trying to save. Do not sew a garment while wearing it or leave a threaded needle loose on a chair or sofa.
Keep the work away from children and pets. Buttons and needles are small objects that need controlled storage, including during an interruption. If you have to stop, place the tools and garment safely away rather than leaving the needle temporarily pushed into an accessible cushion. A repair that takes little time still deserves an orderly beginning and end.
Look at the neighboring buttons before changing anything. Notice their size, orientation and how the fabric closes. A quick photograph can preserve the comparison for later. If the loose button is cracked or distorted, the decision may involve replacement as well as stitching. Keep it available as a reference while finding a suitable match, rather than discarding it immediately.
A few worn threads in otherwise sound fabric are a different problem from a button pulling through a tear. Examine both sides without tugging hard. If the cloth is thin, splitting or missing around the attachment, adding more tight stitches may simply concentrate force in the same weak area. A reinforcement or another repair method may be needed before the button can function properly.
Consider the fastening’s job as well. A decorative cuff button carries different demands from a heavily strained closure. If the garment no longer fits comfortably, repeatedly reattaching the same button may not address the reason it loosens. This is a useful point to ask a tailor about fit or fabric condition instead of assuming that stronger thread is the whole answer.
Patagonia’s repair resources offer both repair routes and technique guides, illustrating that doing it yourself is one option among several. Choose the option suited to the material and your comfort with the task. A small professional repair can be more practical than experimenting on a valuable garment whose construction you do not understand.
Bring the fronts of the shirt together as they would sit when closed, without pulling them into an unnatural position. Identify where the button needs to meet its hole. The existing stitching and the neighboring closures provide clues, but check that the loose button has not already shifted. Mark or photograph the position in a way appropriate to the fabric.
The Patagonia and iFixit four-hole-button guide demonstrates locating the position through the buttonhole. Use the full illustrated guidance when you are ready to sew, rather than relying on a remembered fragment. If a marking product could affect the fabric, follow its instructions and test as appropriate. Do not leave a permanent mark on a visible area simply to make alignment easier.
Remove only what you can manage safely without cutting the cloth. Keep the button secure as old thread is released. If the stitches are buried, the fabric is delicate or the tool feels difficult to control, stop and use professional help. Saving a button does not require accepting an avoidable hole in the garment underneath it.
For the ordinary four-hole button described here, a suitable demonstrated method uses needle and thread to anchor the button to the fabric through its holes. The key is an attachment suited to the garment while allowing the buttonhole to close normally. The appropriate needle, thread and handling depend on the fabric; a number of passes alone does not guarantee a durable result.
Practice on scrap material if the movements are unfamiliar. That allows you to work out comfortable needle handling without treating the shirt as the first trial. Read or watch the full technique before beginning so you know how the thread will be secured and the work finished. Stop if you find yourself pulling the fabric into a pucker to make the stitching feel firm.
This is not a place for glue, staples or an improvised fastening simply because they avoid sewing. Nor does the standard button guide cover every shank button, snap or jeans fastener. Identify the actual construction. When the fastening or material is outside the demonstrated method, find a relevant guide or a qualified repairer instead of adapting the technique by guesswork.
Once the work is finished according to the chosen technique, check for a loose needle, protruding thread or another object left with the garment. Then close and open the buttonhole normally. The fabric should sit as intended without being forced into a new position. A hard pull test is not a substitute for examining the repair and can damage the cloth.
Compare the result with the neighboring closures. If the button pulls the front unevenly, pinches the fabric or cannot pass comfortably through the hole, correct the problem before wearing the shirt. This is easier while the garment is still on the work surface. Do not treat discomfort as something the fabric must simply stretch out of over the next few wears.
Make a note to look at the attachment again during ordinary garment care. A recurrent problem may indicate fabric weakness, strain or a technique issue that needs another approach. There is no promise that one repair lasts forever. The useful outcome is a serviceable closure and an understanding of what would make you revisit it.
Patagonia’s button guide specifically advises professional repair for garments intended for children aged three or under. Keep that limitation visible rather than treating an adult-shirt tutorial as a universal household method. Small parts and attachment requirements deserve particular care. Other children’s clothing or specialized garments may also have instructions that differ from the simple example here.
Waterproof layers, protective clothing, fragile fabrics and unusual constructions are further reasons to consult appropriate guidance. A needle hole or unsuitable material can have consequences beyond the button’s appearance. Explain the garment’s intended use when asking for help. A repairer can make a better recommendation when the object is described as more than a shirt that needs one button.
If you choose professional repair, take the original button and a short description of what changed. Ask what result is feasible and whether fabric reinforcement or a matching replacement is needed. Keep any spare matching buttons in a labelled place afterward. The next loose fastening will then begin with useful information instead of a search through an anonymous collection of small parts.
Loose thread and damaged cloth are different problems. Stop if the fabric underneath is thinning, split or missing. Extra stitches can concentrate force in the weak area. Ask about reinforcement or another suitable repair before assuming that a tighter attachment will solve it.
No. The article concerns an ordinary flat four-hole button on sound woven fabric in an adult garment. Shank buttons, snaps, jeans fasteners and specialist materials may need different techniques. Identify the construction and use guidance intended for it.
There is no universal count that guarantees the result across different fabrics and threads. Follow a suitable demonstrated technique and check the attachment and closure. If the fabric puckers, tears or the button will not operate normally, reassess rather than adding more passes automatically.
Do not assume so. The Patagonia and iFixit source specifically recommends professional repair for garments intended for children aged three or under. Keep loose parts and sewing tools away from children, and use the manufacturer’s appropriate repair route.
Bring the garment, original button if available and a brief explanation of whether the thread loosened or the fabric failed. Mention any specialist construction or intended use. Ask about the feasible repair and any reinforcement or matching-button requirement before proceeding.
A loose button is easiest to assess while it is still there. Preserve its position, inspect the cloth and choose a method that fits the garment. The goal is a closure that works normally, not the largest possible knot or the greatest number of stitches. Keep the tools secure and use professional help when the small visible problem conceals a more complicated repair.
Have a correction? Contact the editors.
A useful fault description, the right parts and a realistic question make a repair visit easier to organize.
Match usable items with an actual recipient instead of transferring an unresolved sorting job to somebody else.
Trace where the coin escaped before deciding between a few stitches, a patch, and a professional tailoring handoff for your worn pocket.